Ever thought about blending your gaming laptop into your music studio? It’s a great way to maximize your setup! With a USB-C KVM switch, you can easily switch between your personal laptop and your music production machine.
This blog will walk you through the step-by-step process of setting up a dual-laptop music studio, highlighting how to connect and optimize your equipment for a seamless creative experience. Let’s embark on this journey to elevate your music production setup!
Equipment Preparation
Before setting up your music studio, ensure you have the following equipment:
-
Two Laptops
Personal Entertainment Laptop: For browsing, watching videos, and gaming.
Music Production Laptop: Specifically for music creation, equipped with strong processing power and an audio interface.
-
KVM Switch (CKS201-M23)
2 USB-C input ports for connecting multiple devices.
1 DisplayPort output port for connecting an external monitor.
2 USB-A ports for connecting peripherals like a keyboard and mouse.
1 front USB-C port and 1 USB-A port for charging or connecting hard drives.
-
External Monitor
Choose a monitor that supports high resolution for clear audio editing and visual effects.
-
Audio Interface
A quality audio interface, such as the Focusrite Scarlett 2i2, serves as a vital link between your computer and your microphones or instruments. For optimal performance, consider using a USB-C audio interface, which allows for faster data transfer and improved audio quality.
*Note on Audio Interface Connection: If your audio interface features a USB-C connection, you will need a USB-C to USB-A adapter or cable to connect it to one of the USB-A ports on the KVM switch.
-
Condenser Microphone
Selecting the right microphone is crucial for capturing high-quality sound. A condenser microphone is ideal for studio environments, as it offers sensitivity and clarity, making it perfect for vocals and detailed recordings. Ensure it’s connected to your audio interface using an XLR cable.
-
Studio Monitors
Investing in high-quality studio monitors is essential for accurate sound reproduction in your music studio. Unlike standard speakers, studio monitors are designed to provide a flat frequency response, allowing you to hear your music as it truly is.
-
MIDI Keyboard (optional)
A MIDI keyboard is a fantastic addition to your setup, allowing you to easily play and create melodies. It enables you to control your DAW and synths, enhancing your creative workflow. Most MIDI keyboards connect directly to your laptop via USB, making integration seamless.
Overall Integration Logic
To create a cohesive music studio environment, it's essential to integrate all devices effectively. Start by connecting your audio interface, then connect the interface and all laptops to the USB-C KVM CKS201-M23 switch for seamless management.
-
Connect the Audio Interface
Use an XLR cable to connect your condenser microphone to the audio interface.
Connect your studio monitors to the audio interface using balanced XLR or TRS cables. This ensures accurate sound reproduction for mixing and mastering.
-
Integrate the KVM Switch
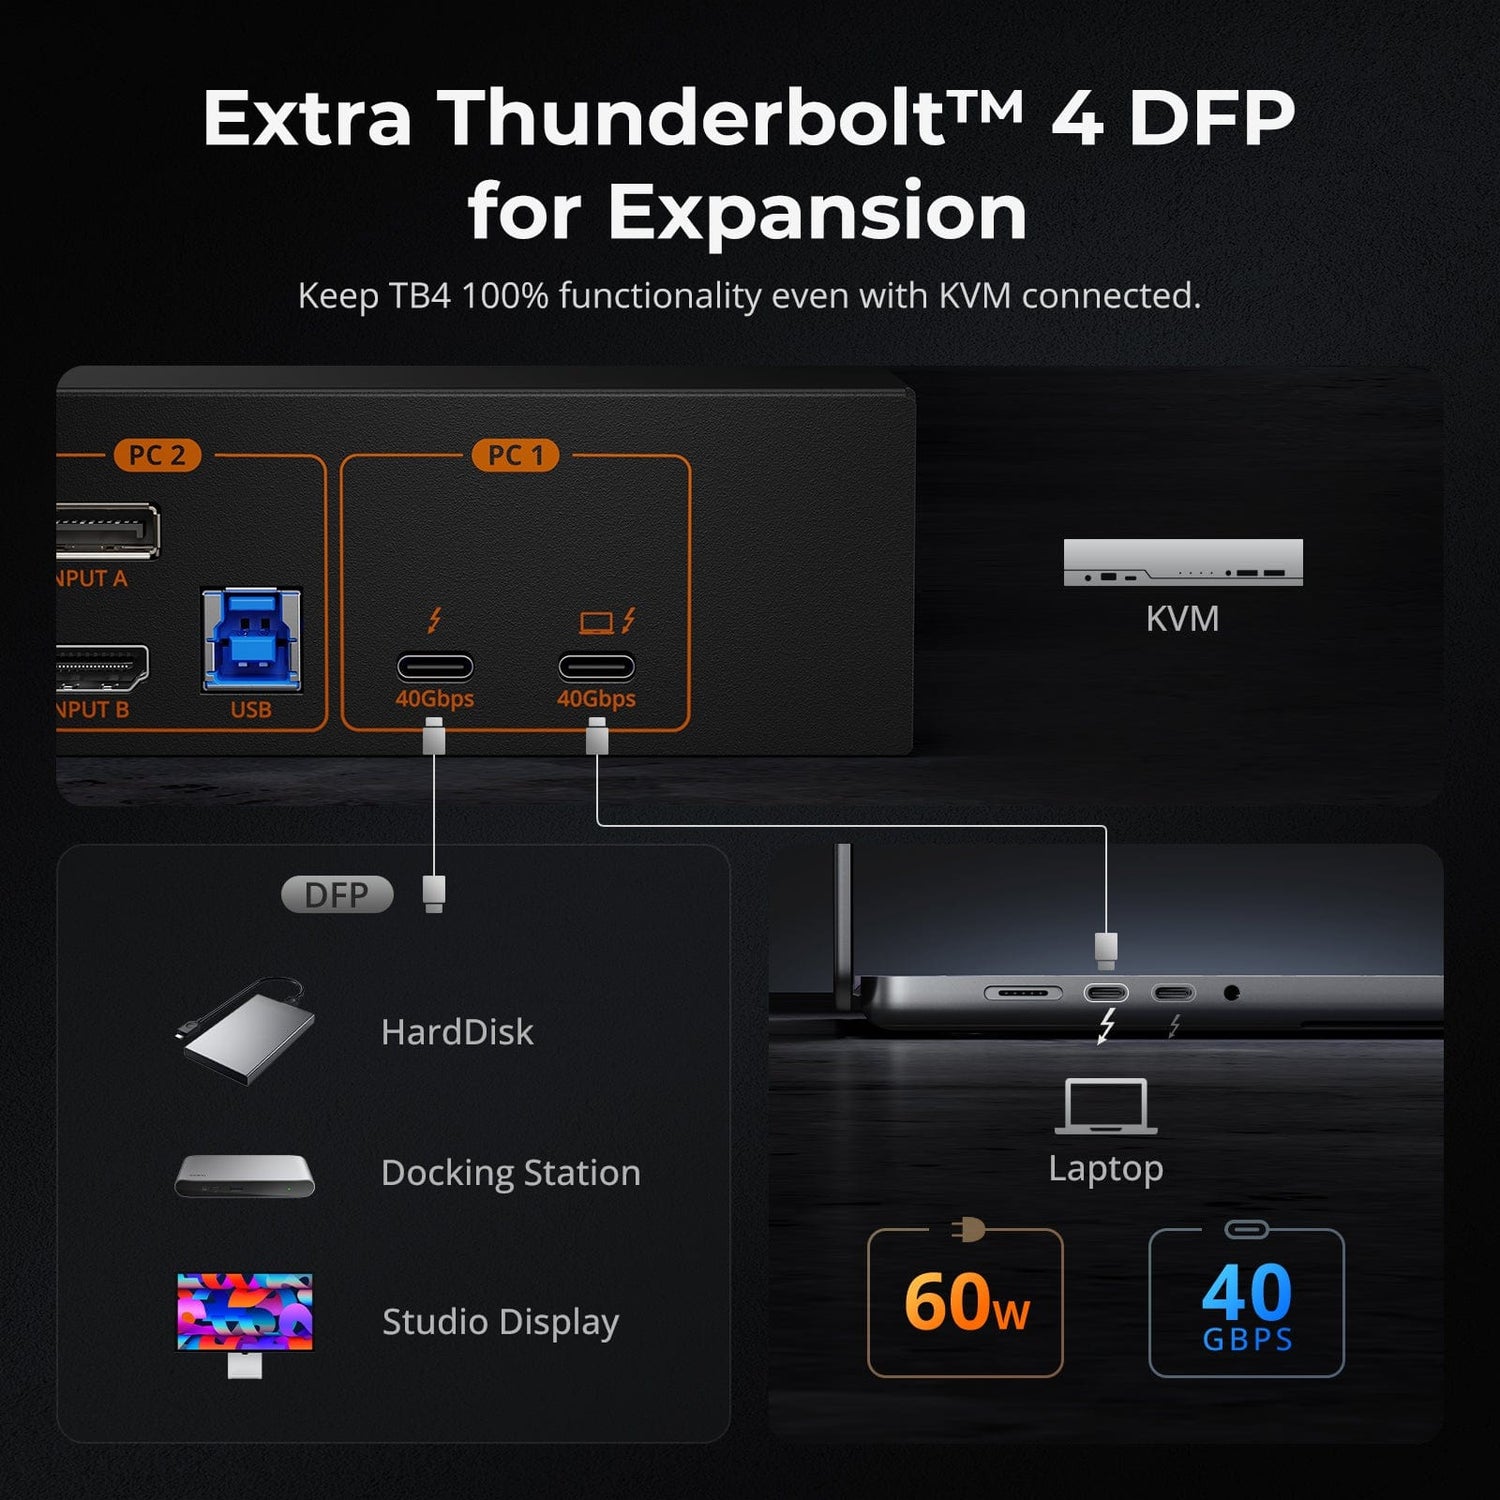
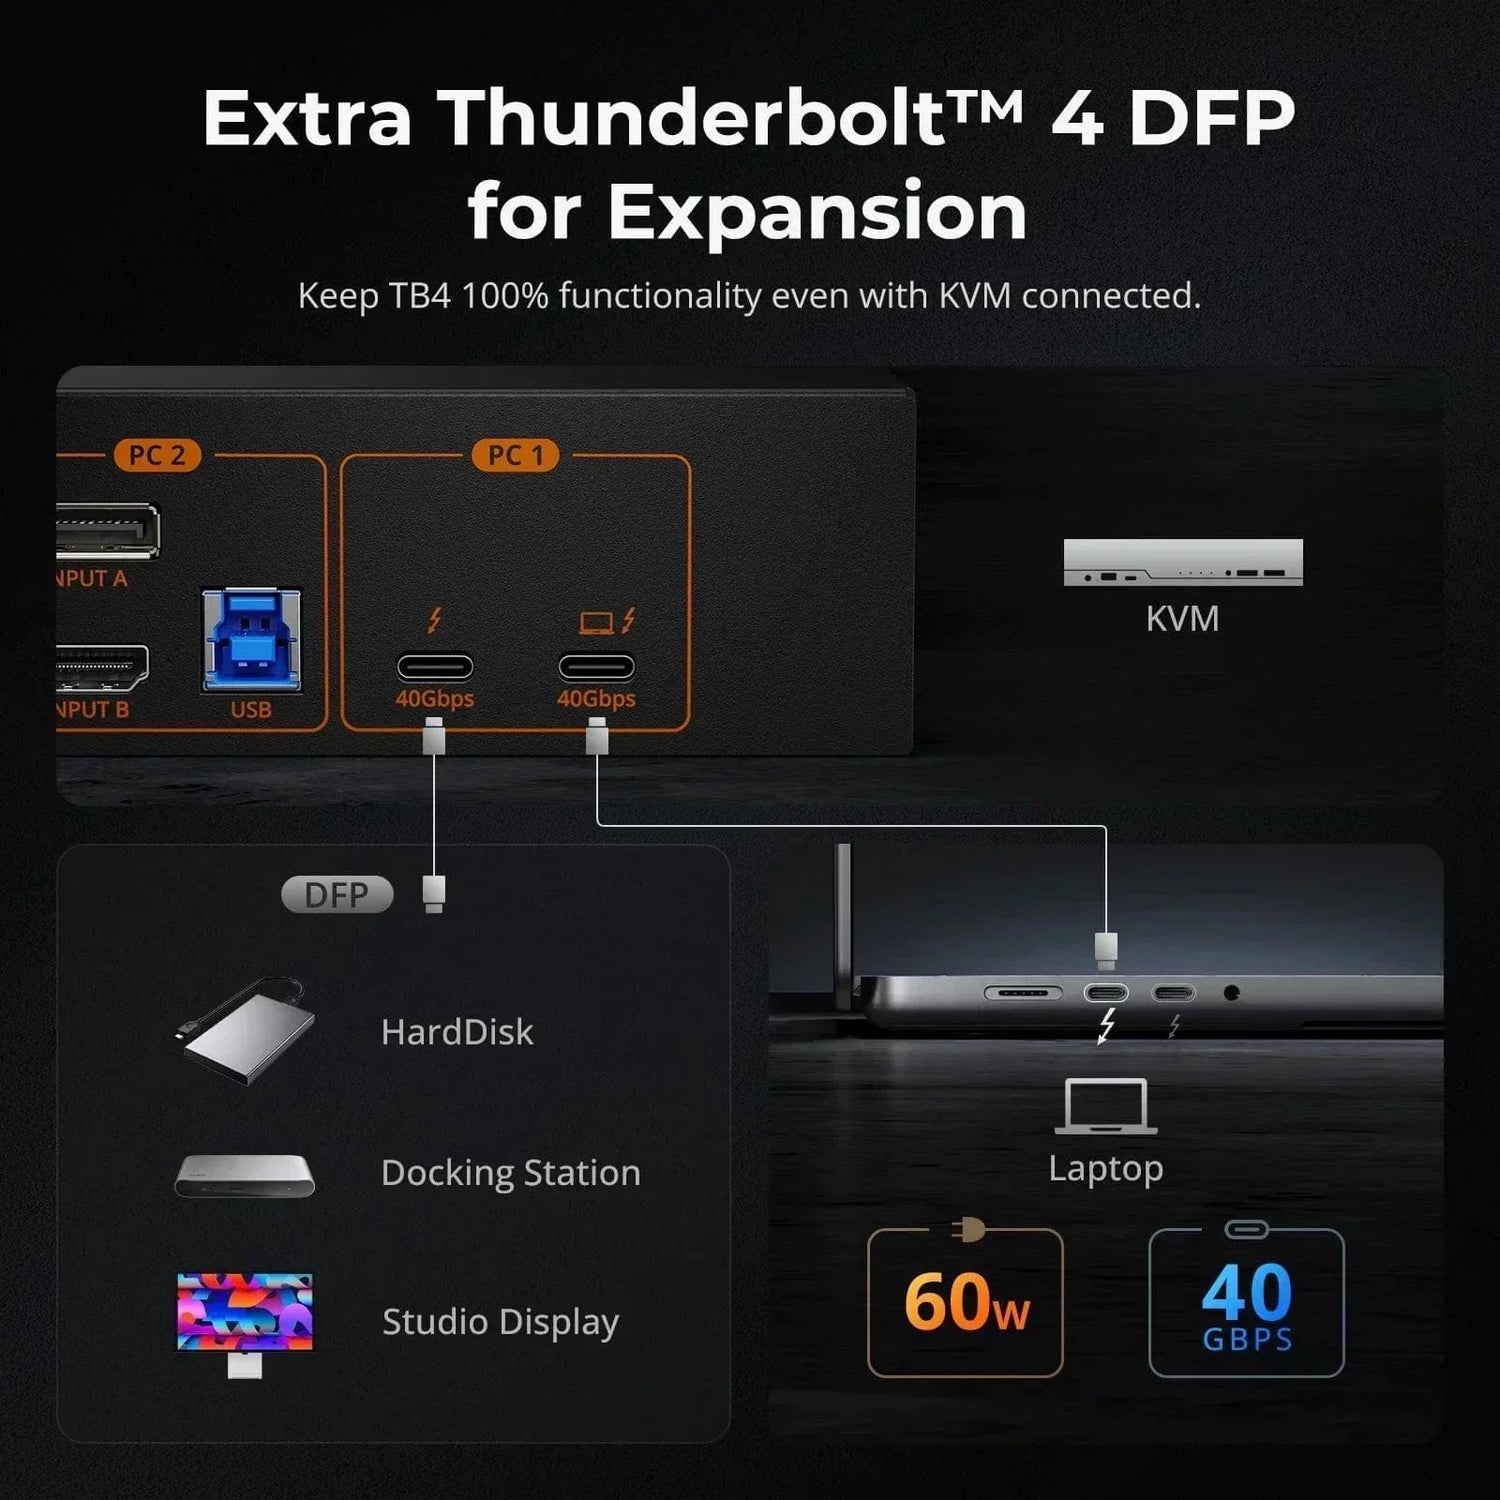
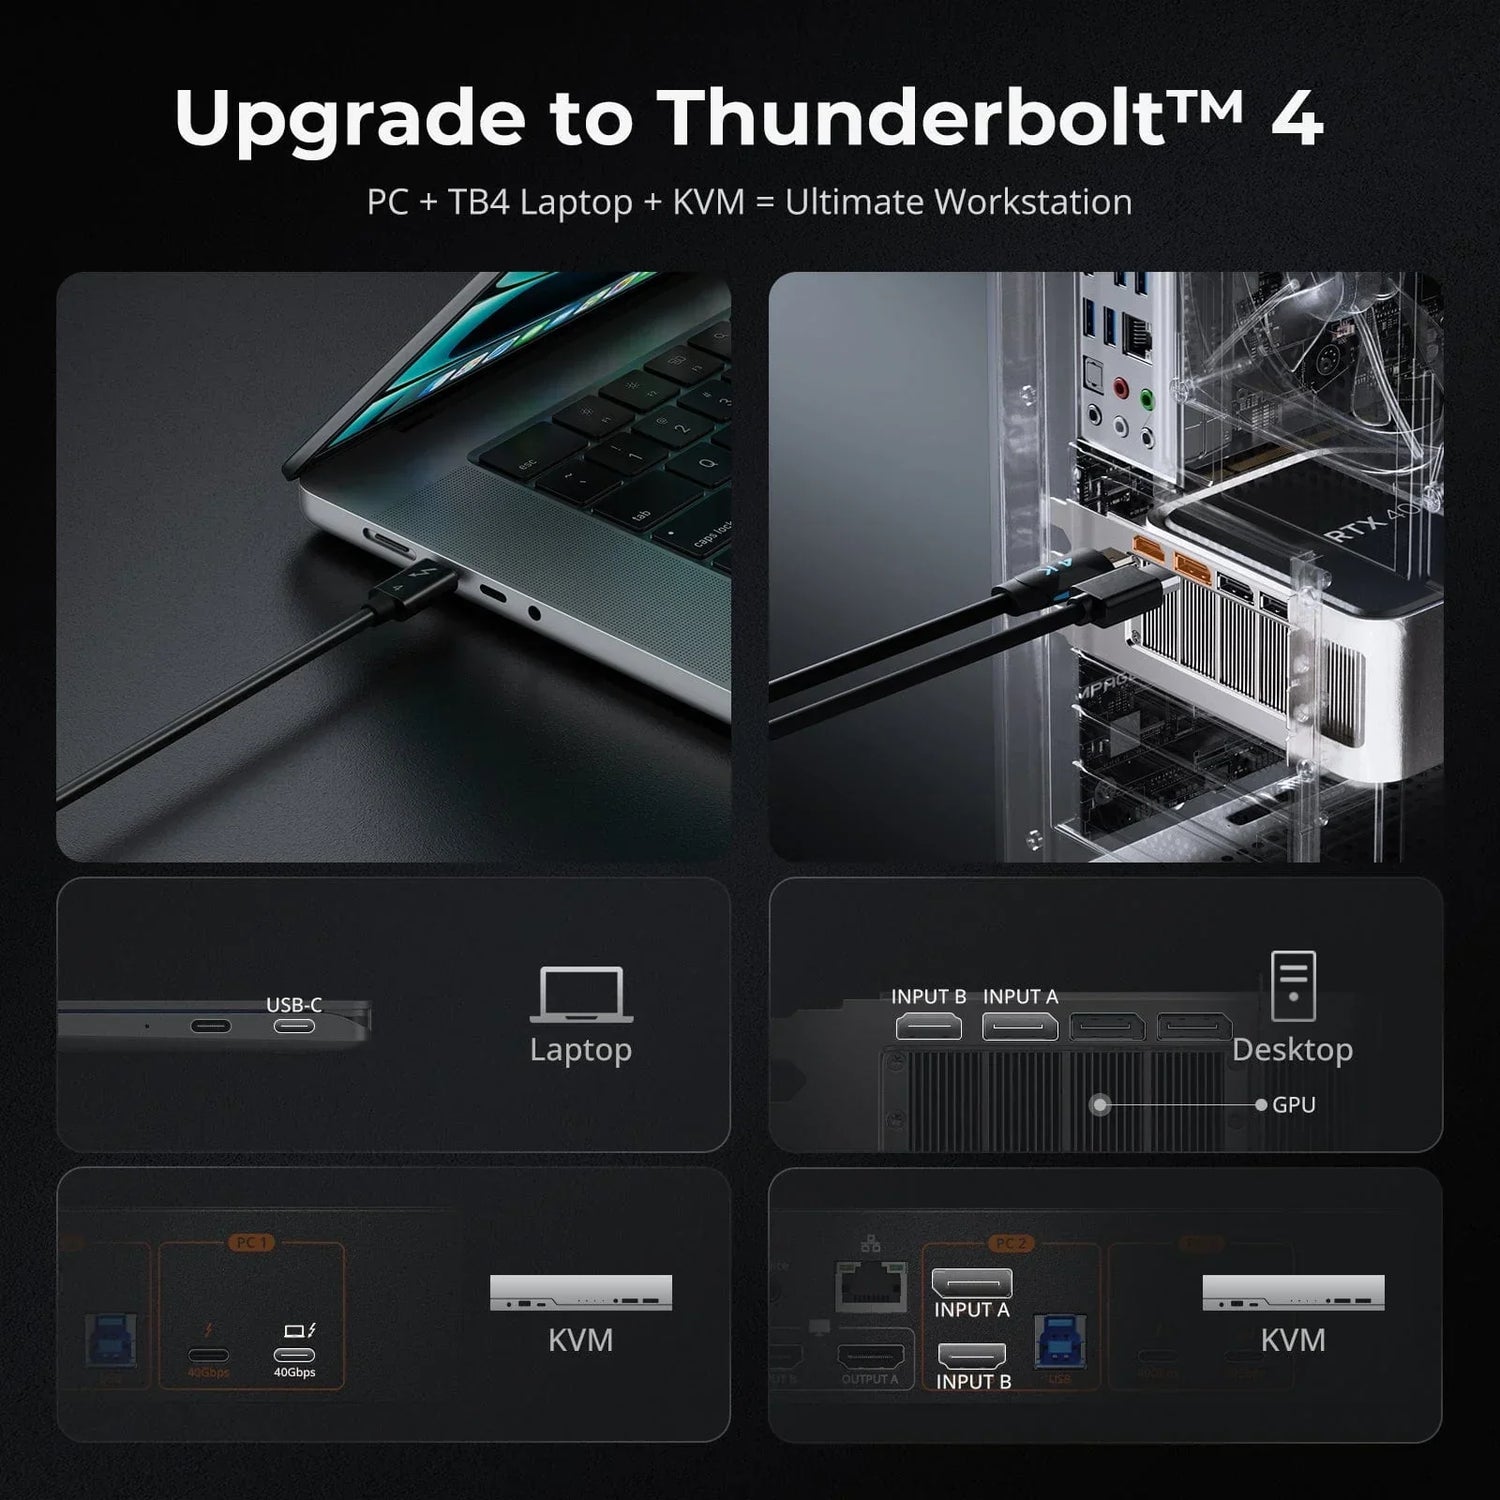
Connect your music production laptop to one of the USB-C input ports on the KVM switch.
Connect your personal entertainment laptop to the other USB-C input port.
Use the DisplayPort output from the KVM switch CKS201-M23 to connect your external monitor for a clear visual display.
-
Connect Peripherals
Use the two USB-A ports on the KVM switch CKS201-M23 to connect your keyboard and mouse, allowing you to control both laptops easily.
Utilize the front USB-C and USB-A ports for charging devices or connecting external hard drives, making it convenient to manage your workflow.
Step-by-Step Setup Process
-
Install Your Music Production Software
Choose and install your preferred Digital Audio Workstation (DAW) on the music production laptop. Options like Ableton Live, Logic Pro, or Pro Tools are excellent choices. Familiarize yourself with the software through online tutorials to maximize its potential.
-
Set Up the Audio Interface
Install any necessary drivers for your audio interface on the music production laptop. This will ensure proper functionality and optimal performance.
Adjust the input settings on your DAW to recognize the audio interface as the primary input source for recording.
-
Position Your Studio Monitors
Place your studio monitors at ear level and in an equilateral triangle with your listening position. This arrangement ensures balanced sound and better mixing decisions.
-
Test Your Equipment
Once everything is connected, perform a sound check to ensure that the microphone, headphones, and studio monitors are functioning correctly. Adjust levels on your audio interface to prevent distortion.
-
Utilize the MIDI Keyboard
If you’re using a MIDI keyboard, connect it to your music production laptop via USB. Make sure it’s recognized by your DAW, allowing you to easily play virtual instruments and create melodies.
Final Result
By integrating a USB-C KVM switch CKS201-M23 into your music studio setup, you can effortlessly switch between your two laptops—one for personal enjoyment and the other dedicated to music production. All your external devices, including the audio interface, studio monitors, and peripherals, are connected through the KVM switch, allowing for a seamless transition between tasks.
This streamlined configuration allows you to focus entirely on your creative process without the hassle of constantly plugging and unplugging cables. Whether you need to browse the web or game on your personal laptop or dive into music creation on your production laptop, everything is just a switch away. Enjoy a more efficient workflow, enabling you to maximize both productivity and creativity in your music studio.


